
We watch raw marble transform from heavy blocks into refined surfaces through precise shaping. Therefore every edge profile demands careful attention to both form and function. For example a well crafted profile can protect corners from chipping and highlight the stone’s natural veining. In this article we walk through the stages of shaping marble from rough cuts to polished edges and share practical methods we use every day to deliver consistent results.
As a marble manufacturer we handle every detail from block selection to final surface treatment. Firstly edge profiles refer to shapes applied to the edge of a marble slab. These shapes can range from simple rounded forms to complex custom contours. For example a bullnose profile feels soft to the touch while a bevel adds a subtle angle that prevents chips. We also work with designers to create custom profiles that marry historical motifs with modern aesthetics. In some cases we sketch a prototype and then refine it digitally before cutting templates. Over time we have found that maintaining a library of profile samples saves both time and materials for repeat projects.
Secondly these profiles influence both how stone looks and how it feels. Above all profiles protect the stone from damage and contribute to design harmony. Most often residential countertops use classic options such as eased or ogee cuts but commercial spaces may require bolder shapes to match architectural themes. Therefore understanding these choices early helps avoid costly changes on site. We encourage anyone specifying marble to review samples in person because subtle differences can affect light reflection and water runoff. In our work we often bring samples to job sites to test the final look and ensure that the profile complements surrounding materials.
Shaping marble edges begins with selecting the right tool for each phase of work. During the initial cut we often use bridge saws equipped with diamond blades that slice through stone with remarkable precision. Meanwhile hand held grinders fitted with diamond pads allow craftsmen to refine the curve without removing excess material. These machines vary in size and power so selecting the correct RPM and pad grit is essential for smooth transitions. Consequently using too aggressive a pad can leave visible tool marks that require more polishing time.
In addition to routing and grinding we sometimes use angle grinders fitted with specialty pads to reach tight corners under overhangs. These handheld tools allow us to address hard to reach areas that larger machines cannot access. Meanwhile vacuum systems integrated into tool mounts reduce dust and improve visibility. This not only protects craftsmen but also keeps finishes cleaner and reduces cleanup time. Lastly we inspect blade wear after each cut and swap out discs at the first sign of degradation. Our craftsmen also learn manual chiseling techniques to handle restoration work where original profiles must match aged stone. This combination of modern machinery and traditional hand work ensures that even delicate restoration projects maintain authenticity while benefiting from current tool technology. Innovations such as adaptive guides compensate for blade wear so that each pass yields identical profiles.
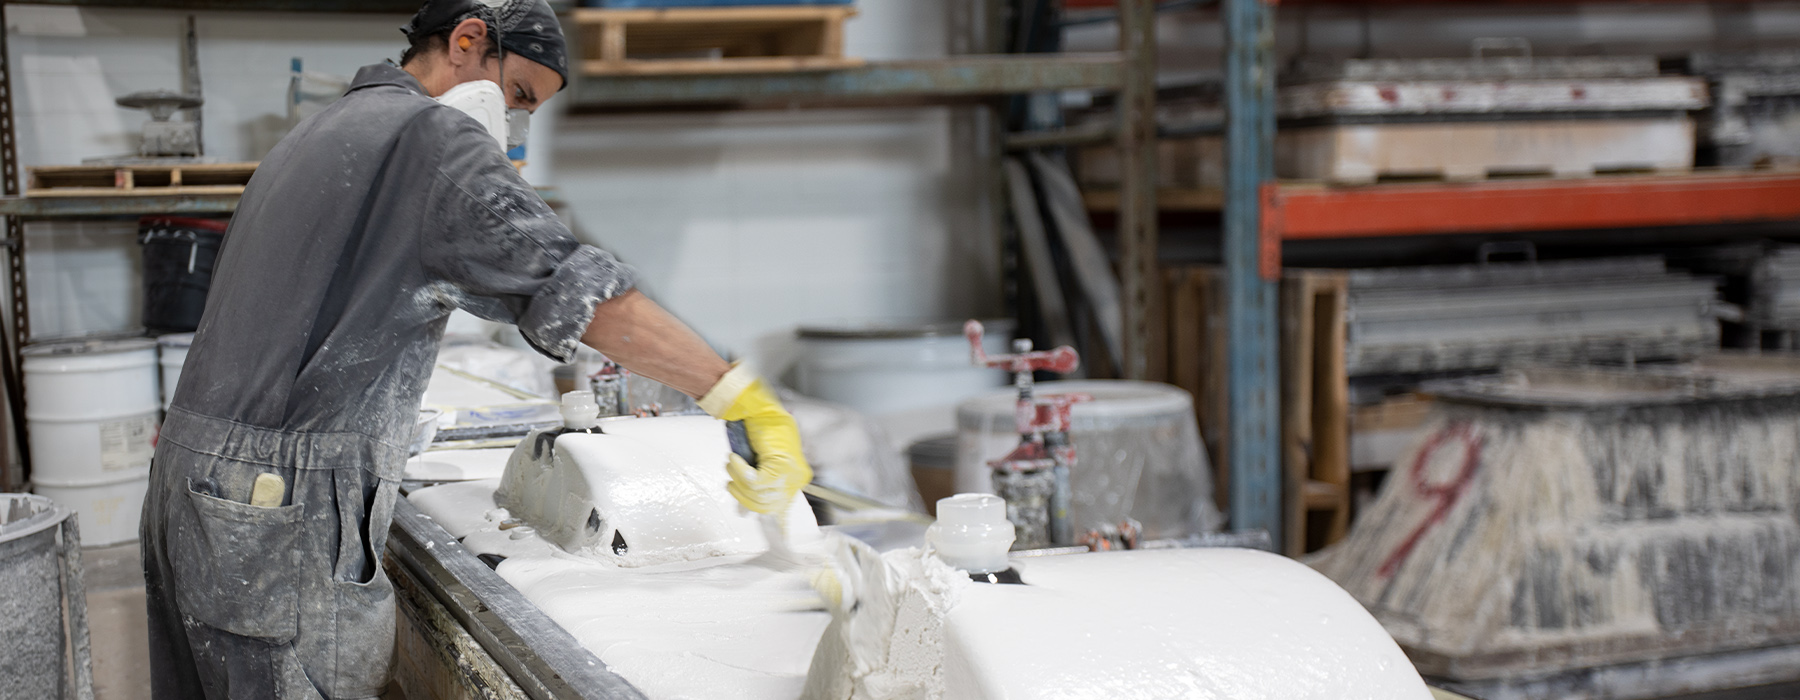
After shaping the profile the next critical phase is polishing and buffing to bring out marble’s natural beauty. We begin polishing with coarse diamond polishers that remove scratches left by grinding tools. Consequently following a sequence of increasingly fine pads restores a glossy surface without micro abrasions. First we use a fifty grit pad to level any irregularities. Next we move to one hundred and two hundred grit pads before applying four hundred grit for pre polishing. Then we finish with a three thousand grit pad that creates a deep shine which highlights the stone’s veining.
Beyond mechanical polishing we sometimes apply chemical compounds that react mildly with marble surfaces to enhance shine. These compounds must be used carefully and rinsed thoroughly afterward. For more delicate marble variants prone to scratches from kitchen utensils we recommend sealing the surface post polish. In addition using felt buffing pads with a light touch ensures that heat generated by friction does not discolor the surface. For example an incomplete polish might leave a fine haze that dulls the reflection. To help clients visualize these differences you can view examples of marble edge profiles in our catalog and see how each finishing technique enhances different profiles.
Maintaining consistent results across multiple pieces of marble demands careful measurement and setup. Most importantly accurate templates and digital files guide the initial profile cuts and reduce material waste. To create a template we cut a sample profile from plywood or acrylic and test fit it against full slabs. However relying solely on templates can lead to errors if the template shifts or warps over time. Therefore we recommend storing templates in a climate controlled space away from direct sunlight and moisture.
During on site installations we use spirit levels and laser guides to confirm that countertops or trim pieces align perfectly with surrounding surfaces. Likewise clamps fitted with padding hold the stone firmly in place so that movement does not affect alignment during polishing. Digital scanning also plays a role in verifying that profiles match the original specification. We scan both the template and the slab after initial cutting and compare profiles in software to catch any deviations before finishing begins. For safety we enforce use of protective gear such as goggles gloves and ear protection during high dust operations. Above all routine maintenance of machinery and calibration checks keep abrasive belts and discs running true and prevent subtle deviations in profile shape.
In addition to small scale tests we sometimes mill profile samples in our workshop and subject them to stress tests that simulate years of use. For example we apply controlled impacts using a weighted pendulum to evaluate chip resistance and refine the profile radius accordingly. Secondly we label each test sample with the exact polish sequence so we can reproduce the process reliably. Meanwhile reviewing these records periodically helps us update best practices when working with newly introduced marble varieties. Above all communication among team members is key to maintaining quality standards.
We hold weekly review sessions where we examine finished pieces under varied lighting conditions and discuss opportunities for improvement. This collaborative environment fosters innovation and ensures that we refine techniques beyond industry basics. For guidance on how these refined methods can apply to your project we welcome you to visit our marble finishing services page and share details about your stone types and desired profiles.
What is the most common marble edge profile?
The eased profile is the simplest and most widely used because it provides a clean look and minimizes sharp edges. It works well in both residential and commercial settings.
How long does the polishing process take?
Polishing time depends on the stone’s hardness and desired finish. Typically it takes between one and three hours per edge when following a full grit sequence.
Can I shape marble edges at home with basic tools?
Basic edge shaping at home is possible but not recommended for beginners. Professional equipment and expertise ensure precise profiles and prevent costly mistakes.
How should I maintain polished marble edges?
Clean edges regularly with a pH neutral stone cleaner and a soft cloth. Avoid acidic or abrasive products which can dull the finish or cause etching over time.
What should I consider before selecting an edge profile?
Evaluate both aesthetic preferences and functional needs. Consider cabinet overhangs splash damage and the type of use the surface will experience to choose the right shape.
* Excluding Long Weekends